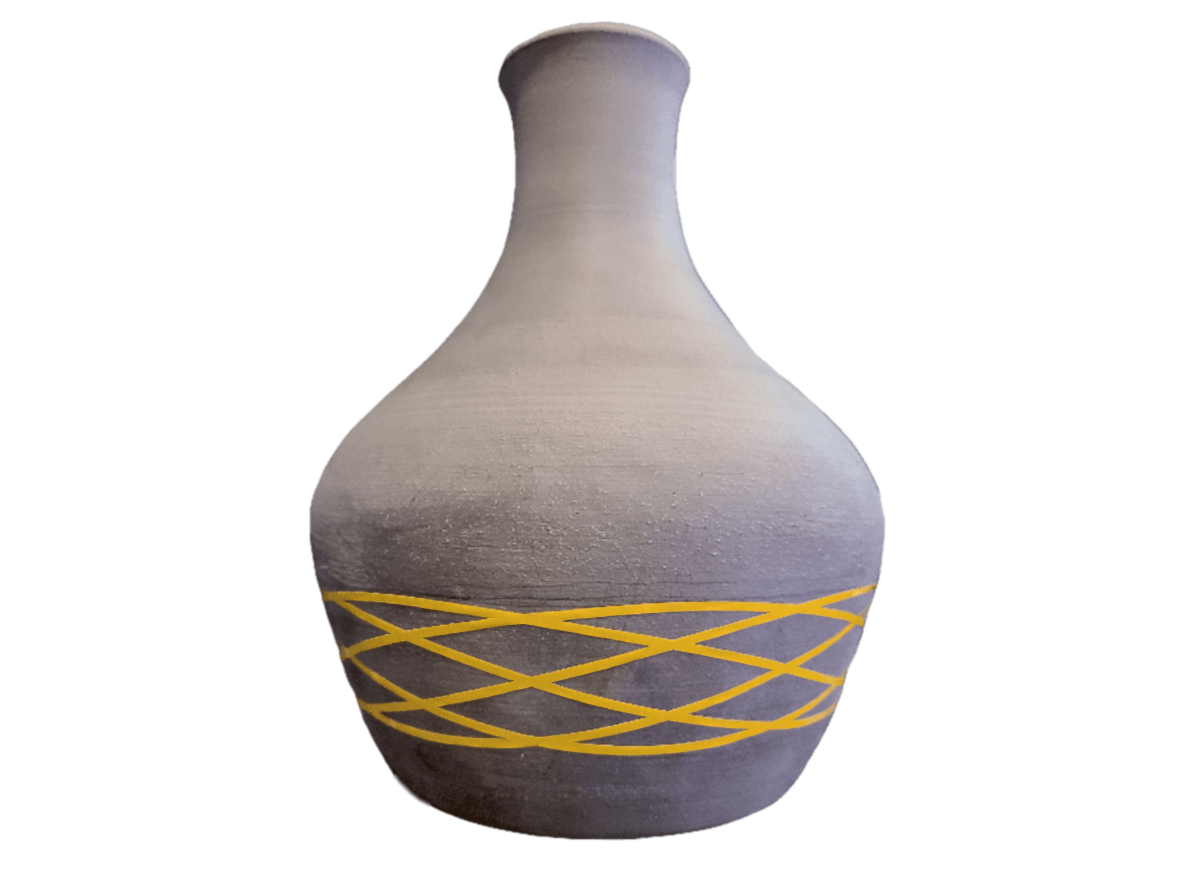
Free vector editing tools are pretty lacking in intuitive ways to wrap a template around a conical object (i.e. mug or vase). I aim to produce a vinyl decal that can be applied perfectly to a ceramic piece without any stretching.
This post is not a step-by-step procedure, but rather a general overview of the steps that I use to fit vector artwork to pieces of pottery using Inkscape and a vinyl cutter.
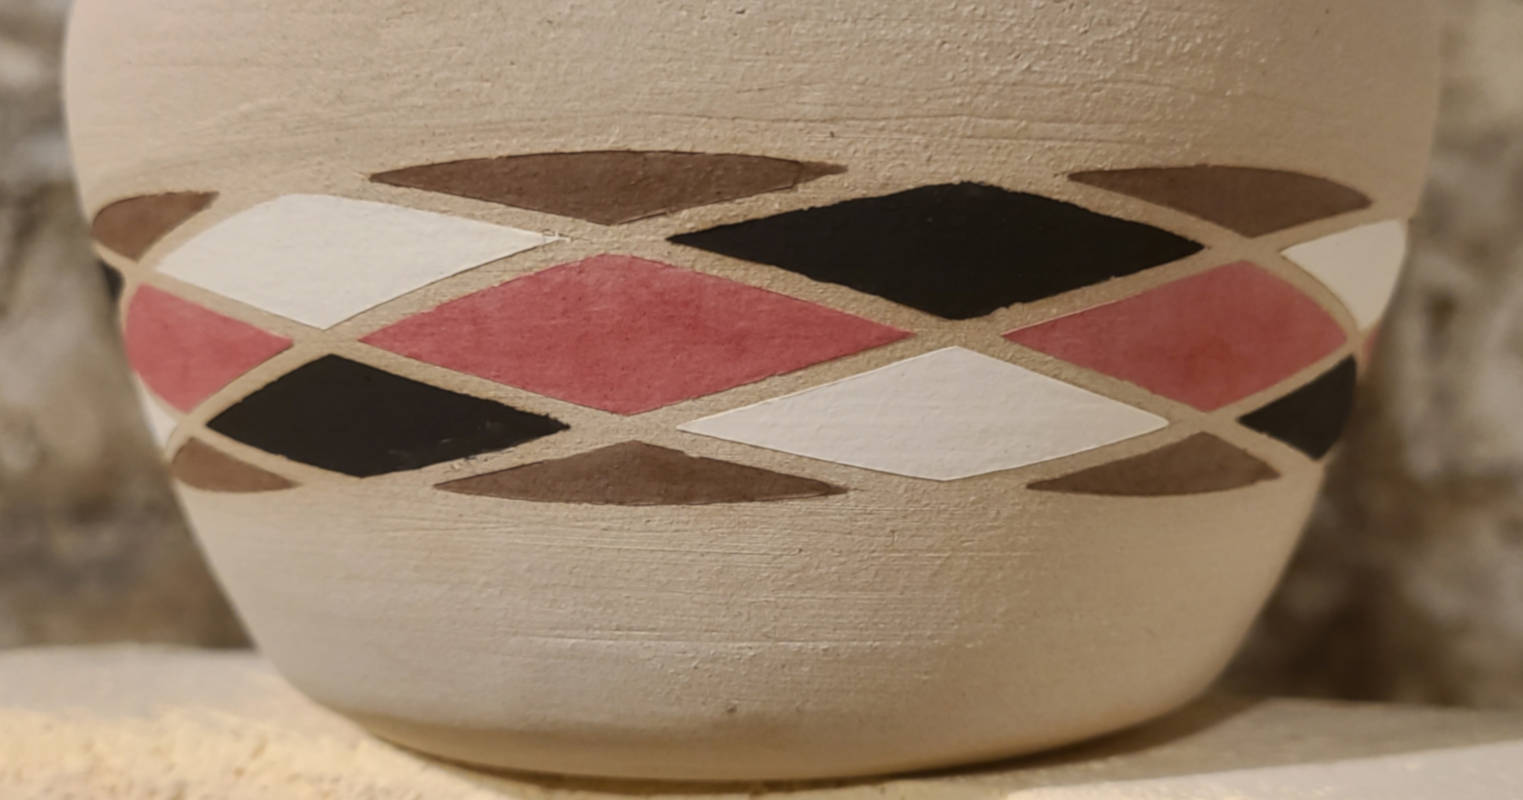
Determine cone dimensions
I start by using a sheet or multiple sheets of paper to fully encircle the piece, and hold the edges together with tape. Then, centering and spinning the piece on a banding wheel, I use a pen to trace out the area where I want the vector pattern to be applied.
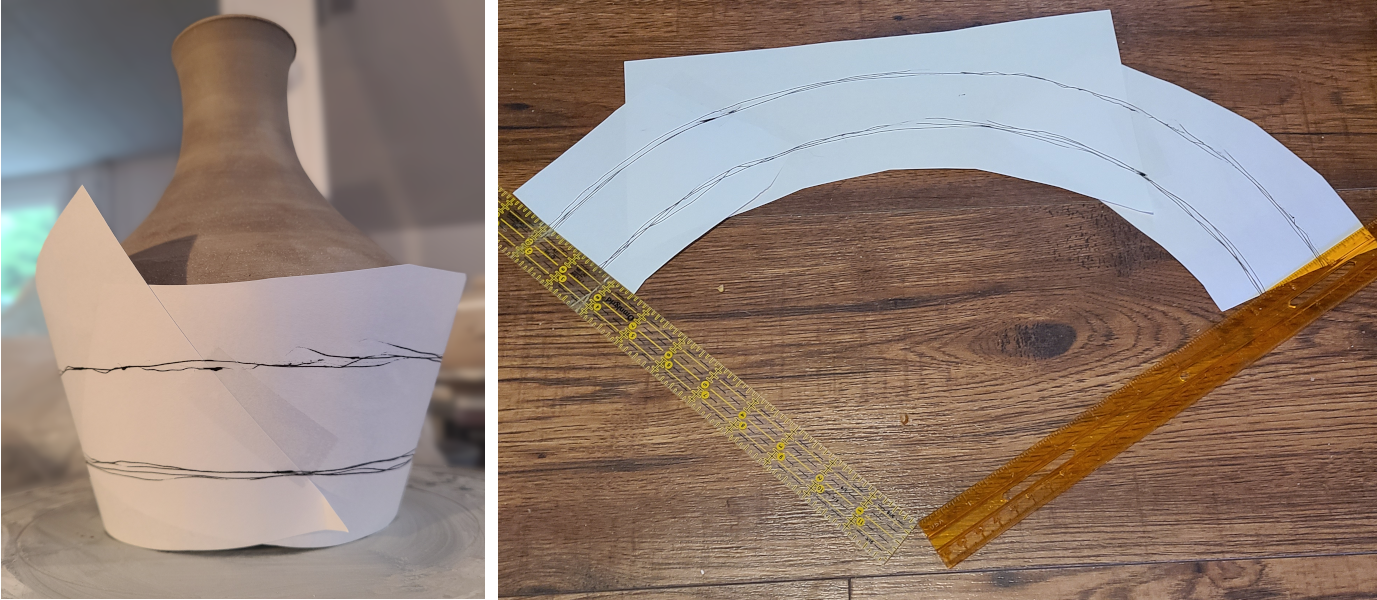
I then cut the paper off of the piece using a vertical line and lay it out on a flat surface to be measured. The rulers are mainly there for scale - I can now take an overhead photo of the flattened arcs and import them into Inkscape, scaling appropriately later.
Constructing a dimensionally accurate envelope in software
A decal that wraps perfectly around a section of a cone is simply a section of a circular arc - this is the ‘envelope’ which we’ll use as a template to deform the vector art.
Copying the arc from the drawing is not an exact science - I use a combination of the ruler measurements and intuition to draw some circles over the overhead photo until I feel that I have a shape which matches the drawing pretty closely.
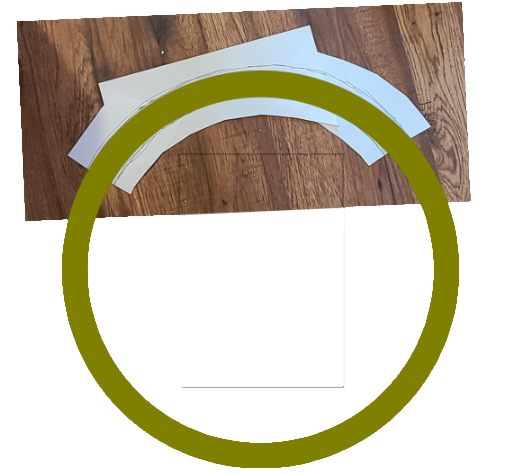
I then trim the path using some boolean operations to get the ‘envelope’ on which I’ll lay out my preferred vector graphics. Make sure the edges are perpendicular to the arc (you can do this by centering the circles on the page, then drawing lines out from the center point to trim the edges).

It would be a good idea to cut out the envelope with a plotter or printer to see how well it fits the piece.
Fitting the graphics using envelope deformation
At this point I cut the envelope in half to make it easier to manipulate - I’ll double it when it’s finished.
Import your vector art that you’d like to deform and lay it over the envelope.

With the vector art selected, navigate to Path -> Path effects and search for ‘Envelope deformation’. Note that this is different than the envelope deformation plugin in Inkscape, which is not as flexible.
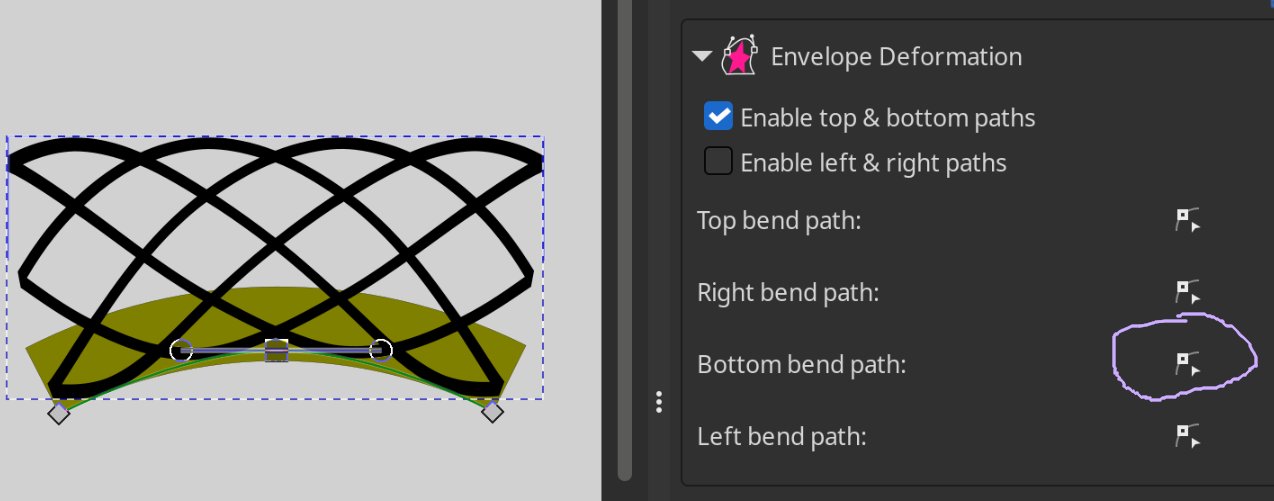
The envelope deformation path effect lets you define a top and bottom path that follow an arc. I just use the appropriate node editing tools and snapping to rough out the top and bottom corners, and centerpoint curves.
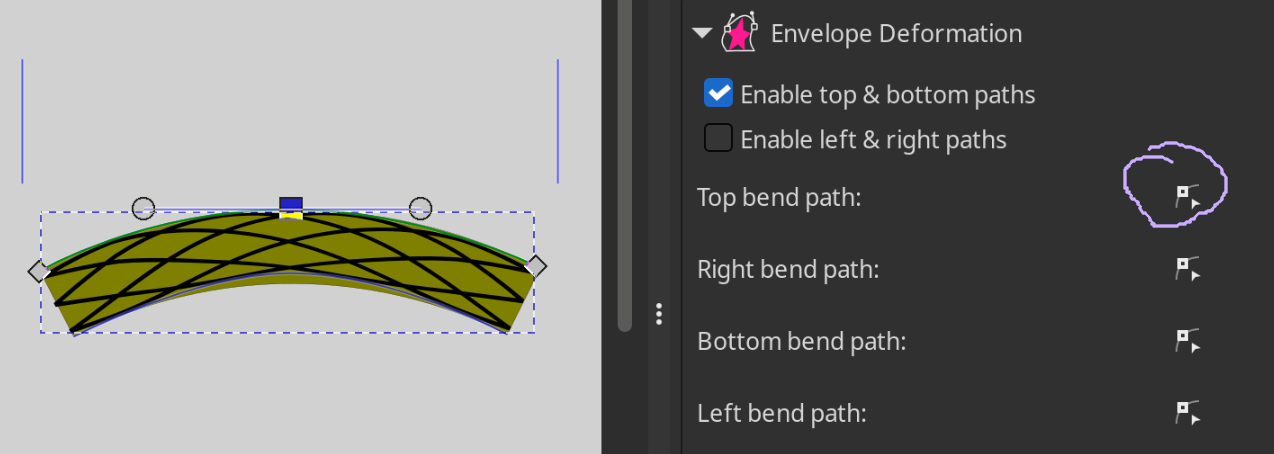

Cut / apply to piece
At this point you can cut out the deformed artwork to be applied to the conical piece.

