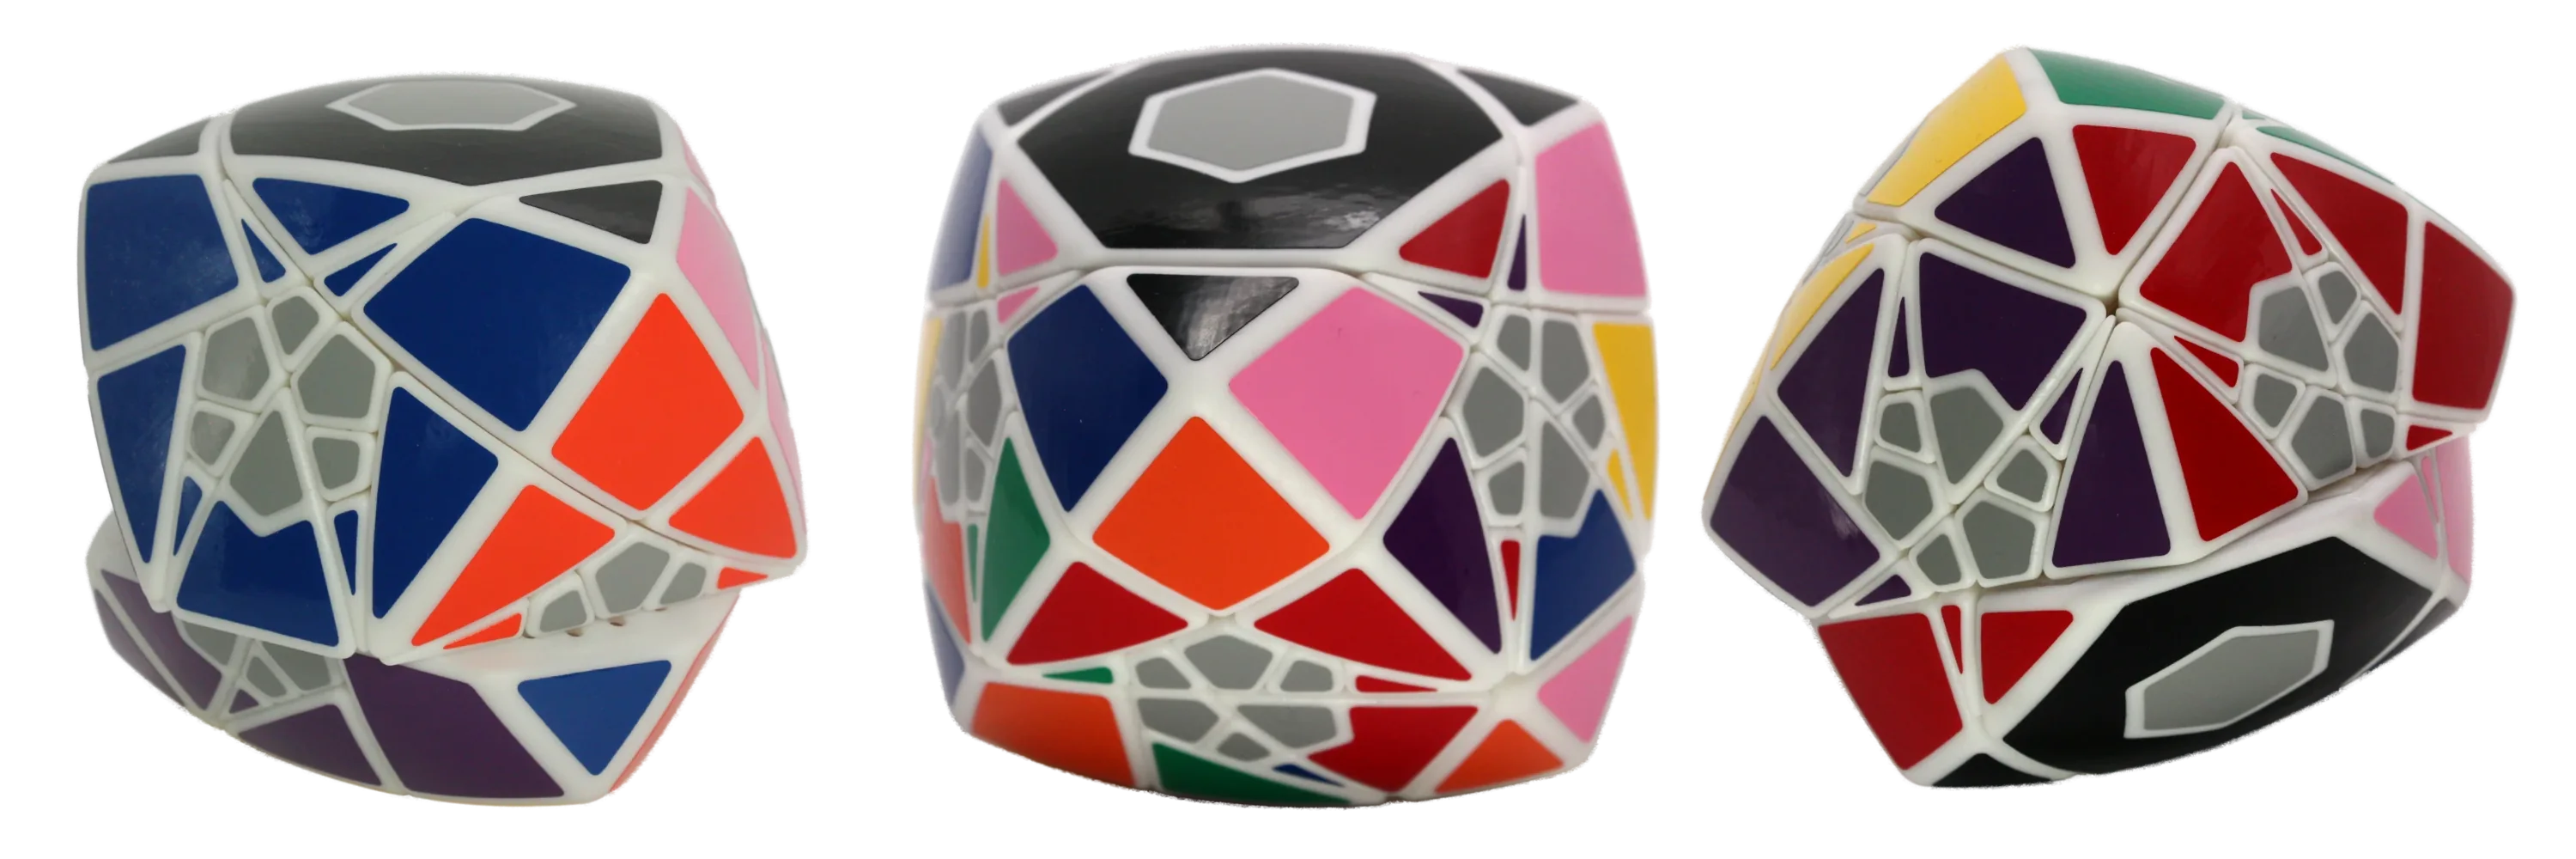
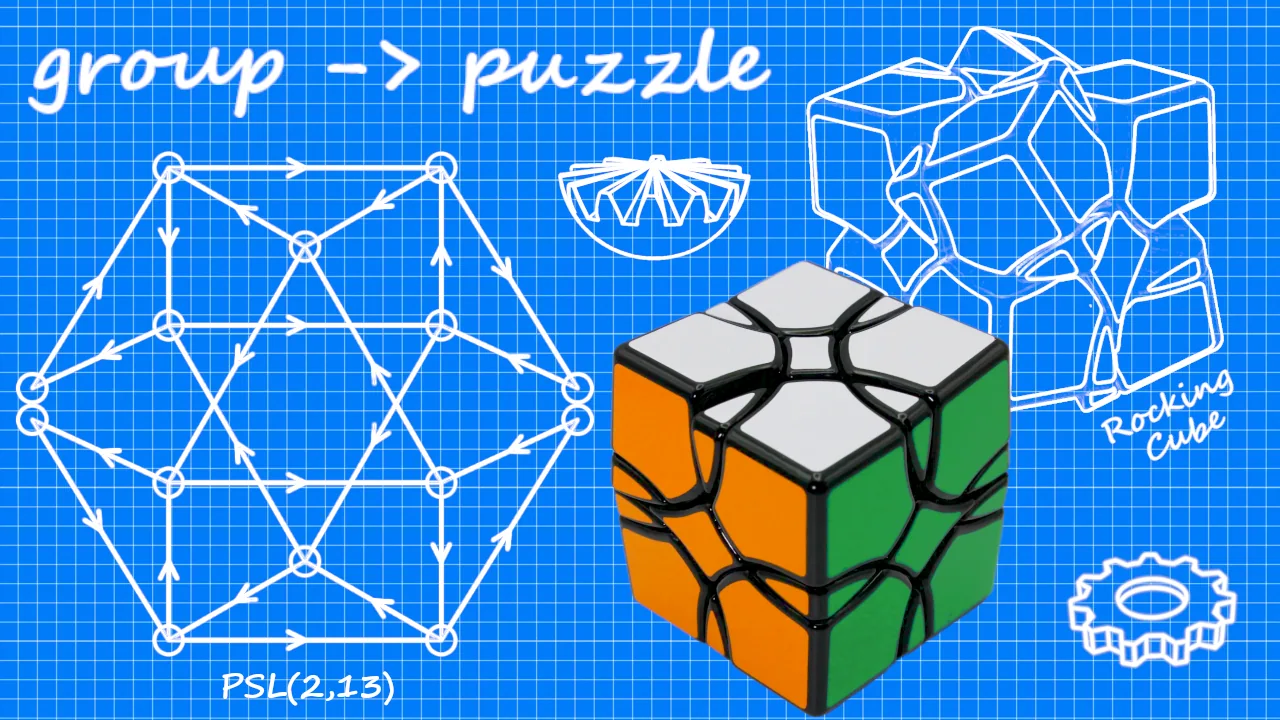
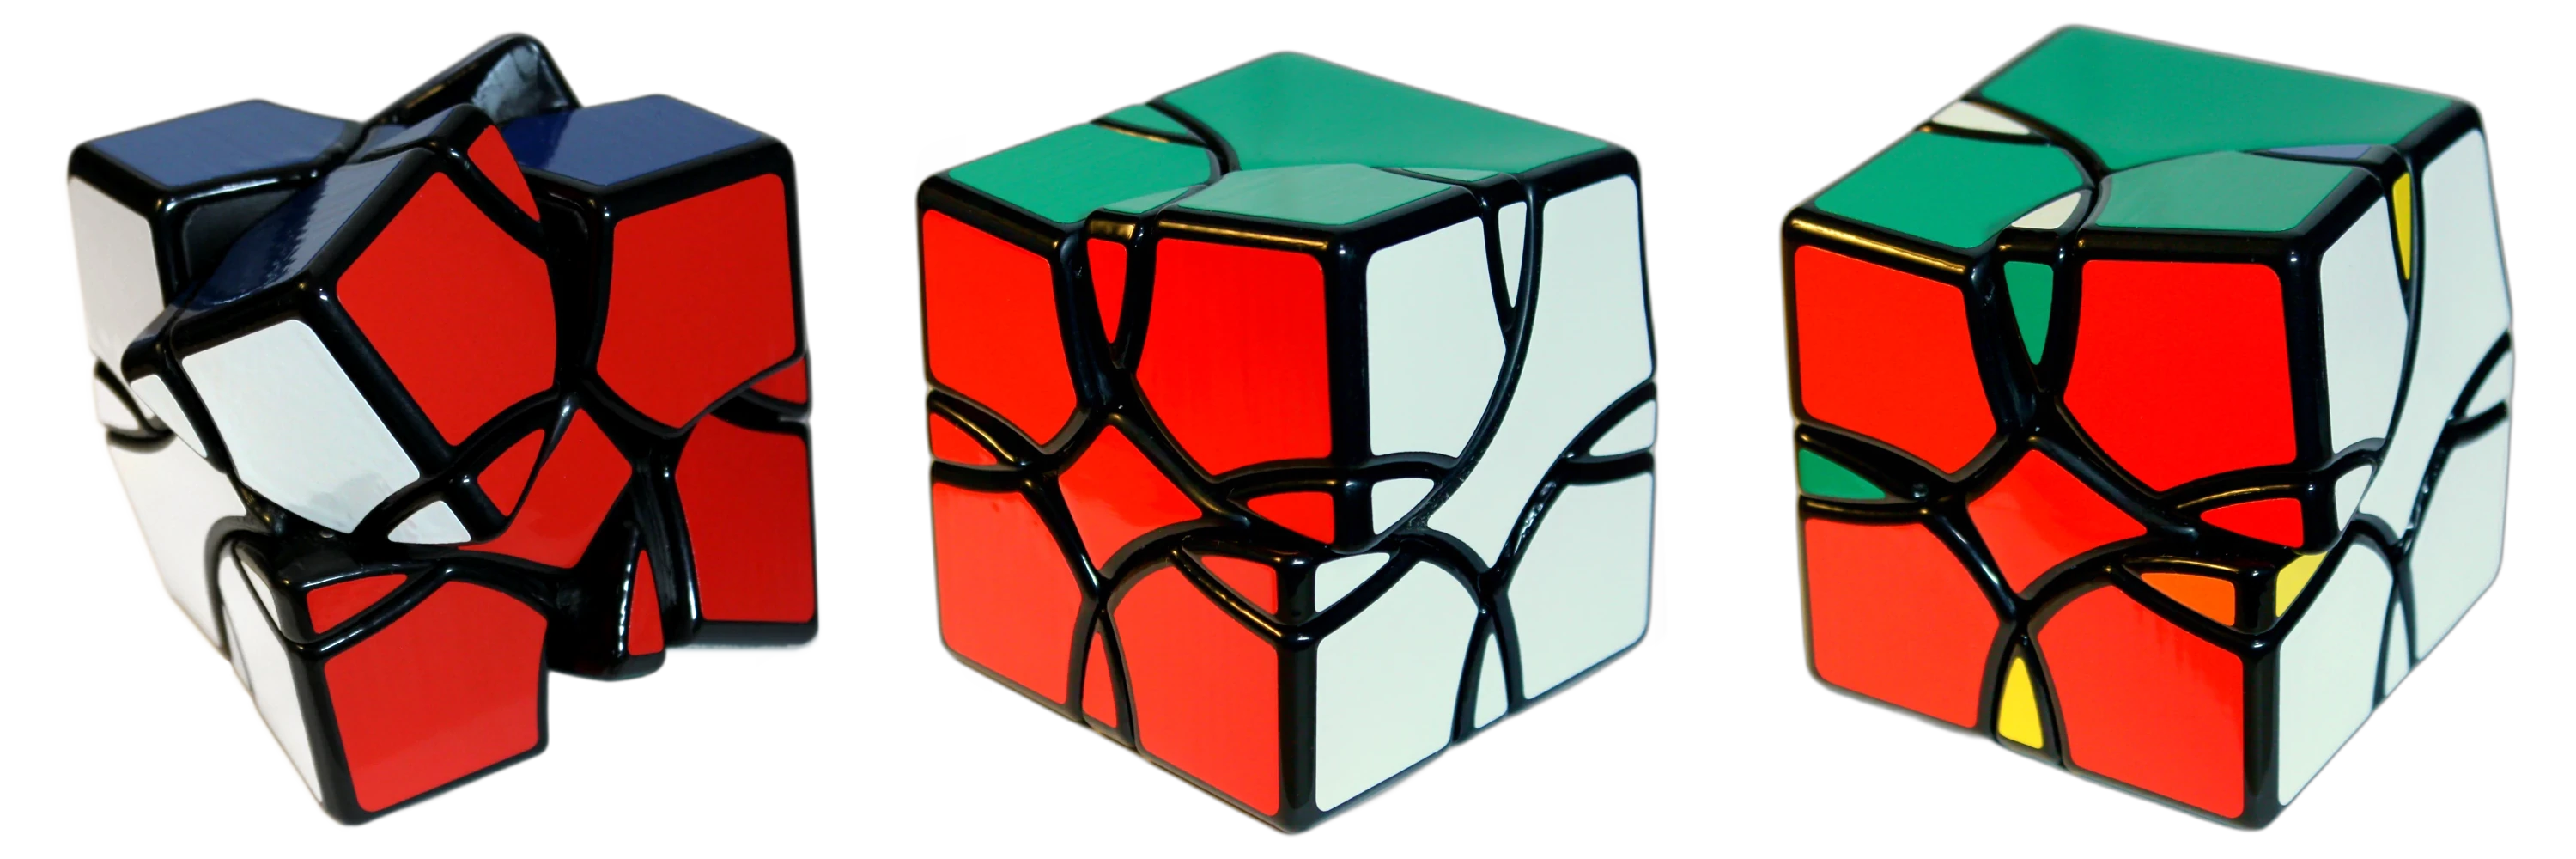
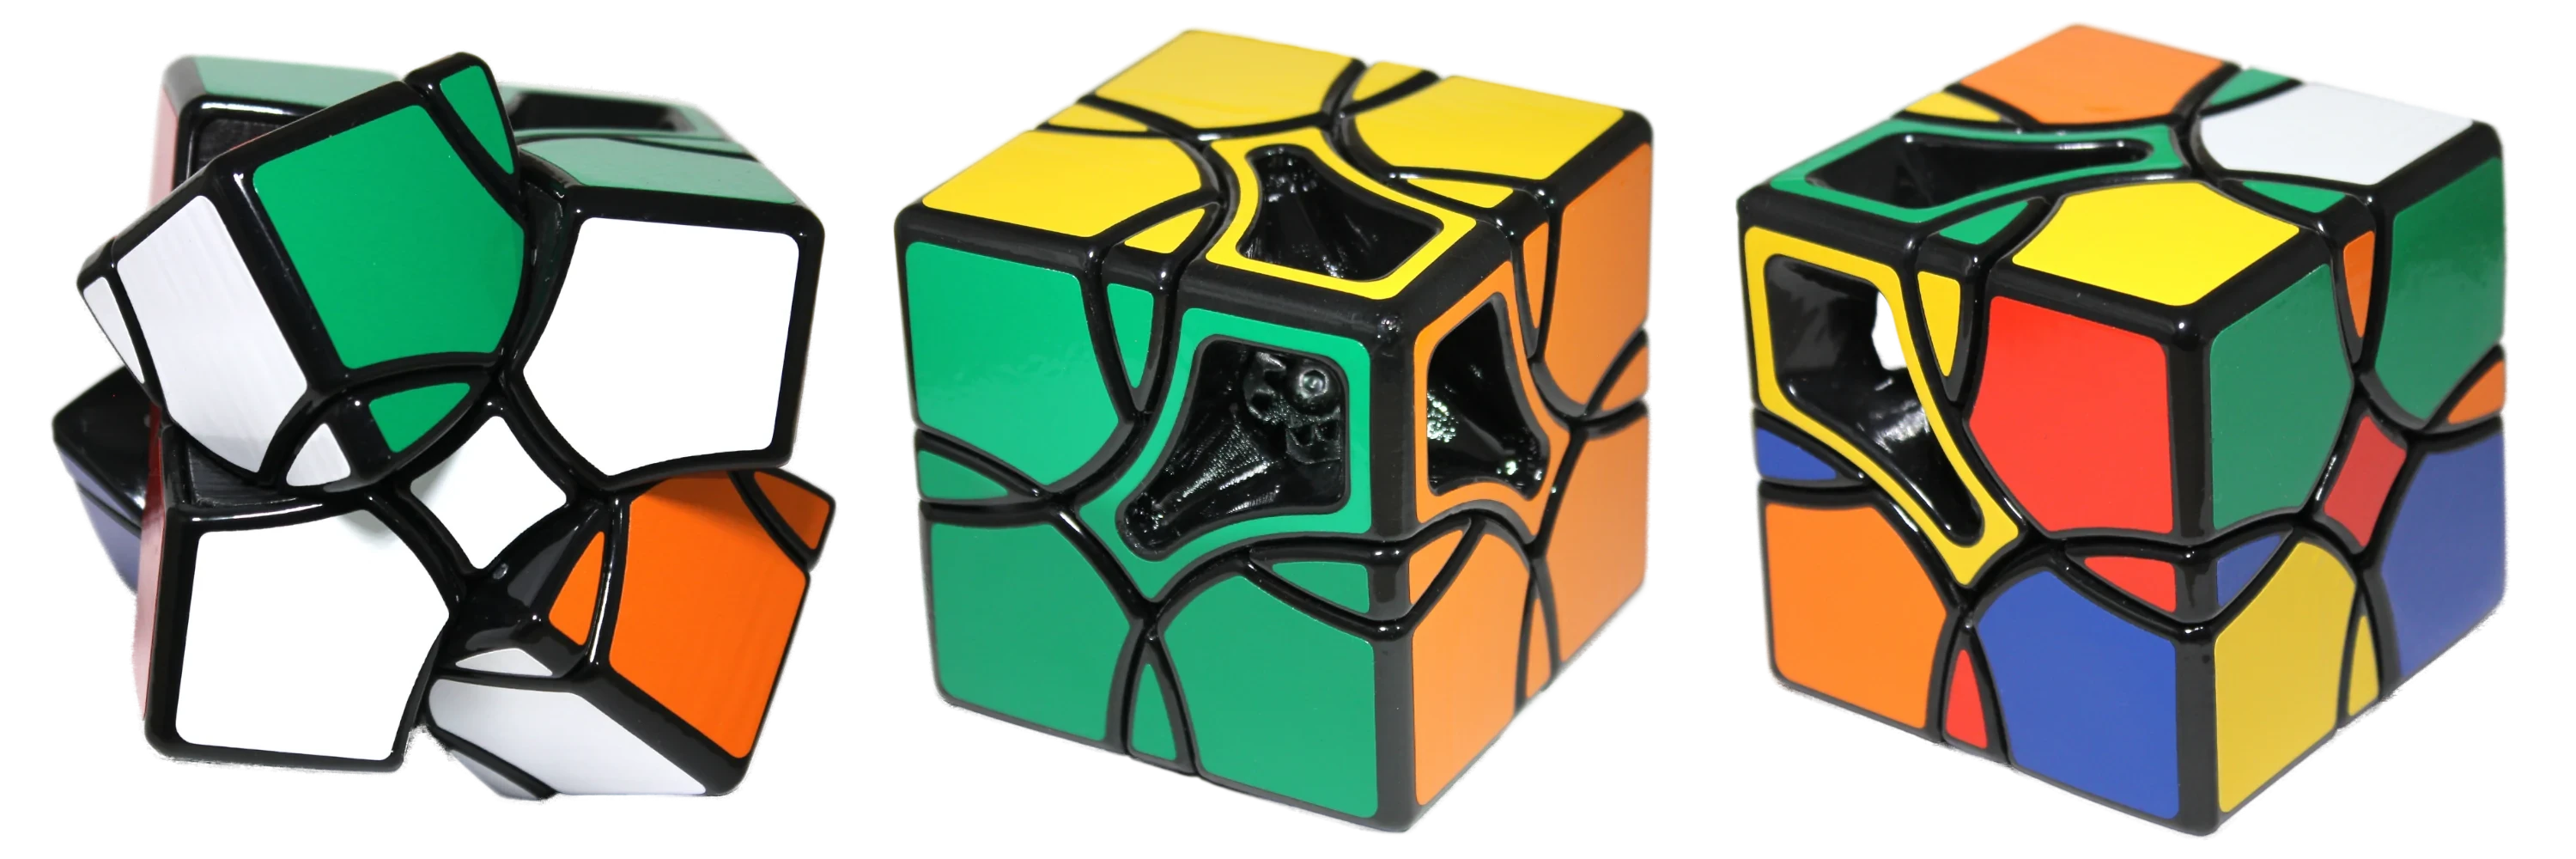
This is a reference guide for designing vinyl decals to fit over a curved surface, using Solidworks or other CAD software. It demonstrates the optimal steps for fine-tuning the shape and offsets of the decal, ending with the surface flattening feature + SVG export available in Onshape. I use this procedure to design stickers for pillowed twisty puzzles.
1. Copy unique surfaces
First, use the Offset Surface tool in Solidworks (or equivalent in your CAD software) to copy each curved surface that gets a sticker. Set the offset to 0 so that the new surface is exactly the same as the original.

2. Thicken surfaces
For easier manipulation, thicken the surface to form a solid body. Use the Boss -> Thicken tool, with the surface extruding away from the convex curve and a reasonably small thickness.

3. Optional: Combine individual bodies
For easier manipulation, it’s helpful to weld all of the thickened surfaces together by using the Combine -> Add tool to attach them onto a slightly shrunken base body. This is not required, but it permits the CAD software to operate on multiple sticker bodies per operation, saving time for designs with many stickers.

4. Simplify / remove small features
The copied surfaces contain some tiny fillets and chamfers that will get in the way of the next step. Use the Delete Face tool in ‘Delete and Patch’ mode to get rid of them.

5. Offset the edges
The sticker needs to be smaller than the surface that it covers. Use the Move Face tool to offset the edges of the body inward by a small amount. The offset amount depends on personal preference and the shape of the edge under the sticker. These are my rough guidelines, though sharp edges may take some trial and error:
- 0.4mm - Sharp filleted edges
- 0.3mm - Acute edges (i.e. Pyraminx stickers)
- 0.2mm - 90° edges (i.e. Rubik’s Cube stickers)
- 0.1mm - Obtuse edges

6. Fillet the corners
Use the Fillet tool to round off the points. Like the previous step, the fillet radius will depend on the desired aesthetic and the sharpness of the point. Acute points get smaller fillets (~1mm), while obtuse points get larger fillets (~2mm).

7. Export to STEP
Now export the sticker surfaces by selecting the top of each sticker body and saving as a STEP file. Include ‘Selected face(s)’ only when prompted.

8. Import to Onshape
Onshape is a free online CAD platform with surface flattening capability. Import the STEP file using the Create -> Import button.

9. Flatten surfaces and export
In the bottom right corner of the Onshape canvas, click the Analysis Tools button (protractor icon) and select the Flatten surfaces tool. This brings up a prompt where you can analyze distortion and export each individual flattened surface as an SVG.

10. Consolidate SVGs in Inkscape
With all stickers exported into vector format, they can be combined into a vinyl cutter template using Inkscape.