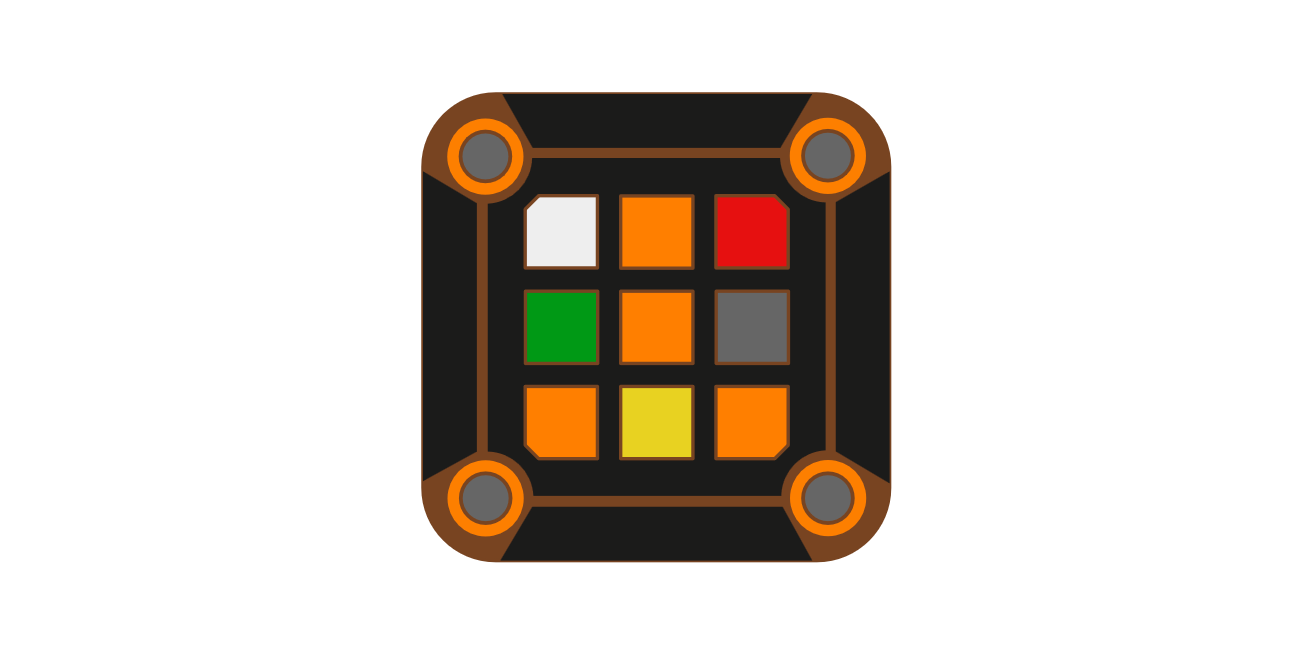
STL Files: https://quirkycubes.com/public/Illegal Slice Cube STL.zip
Sticker Template: https://quirkycubes.com/public/Illegal Slice Cube Stickers.zip
Hardware required:
- 4x M3 Springs (~10mm uncompressed)
- 4x M3 Washers
- 4x M3 x 8 Screws (socket or button head)
- 4x M3 x 16 Screws (socket or button head)
- 4x M2 x 8 Button Head Screws
- Lubricant
- Super glue (optional)
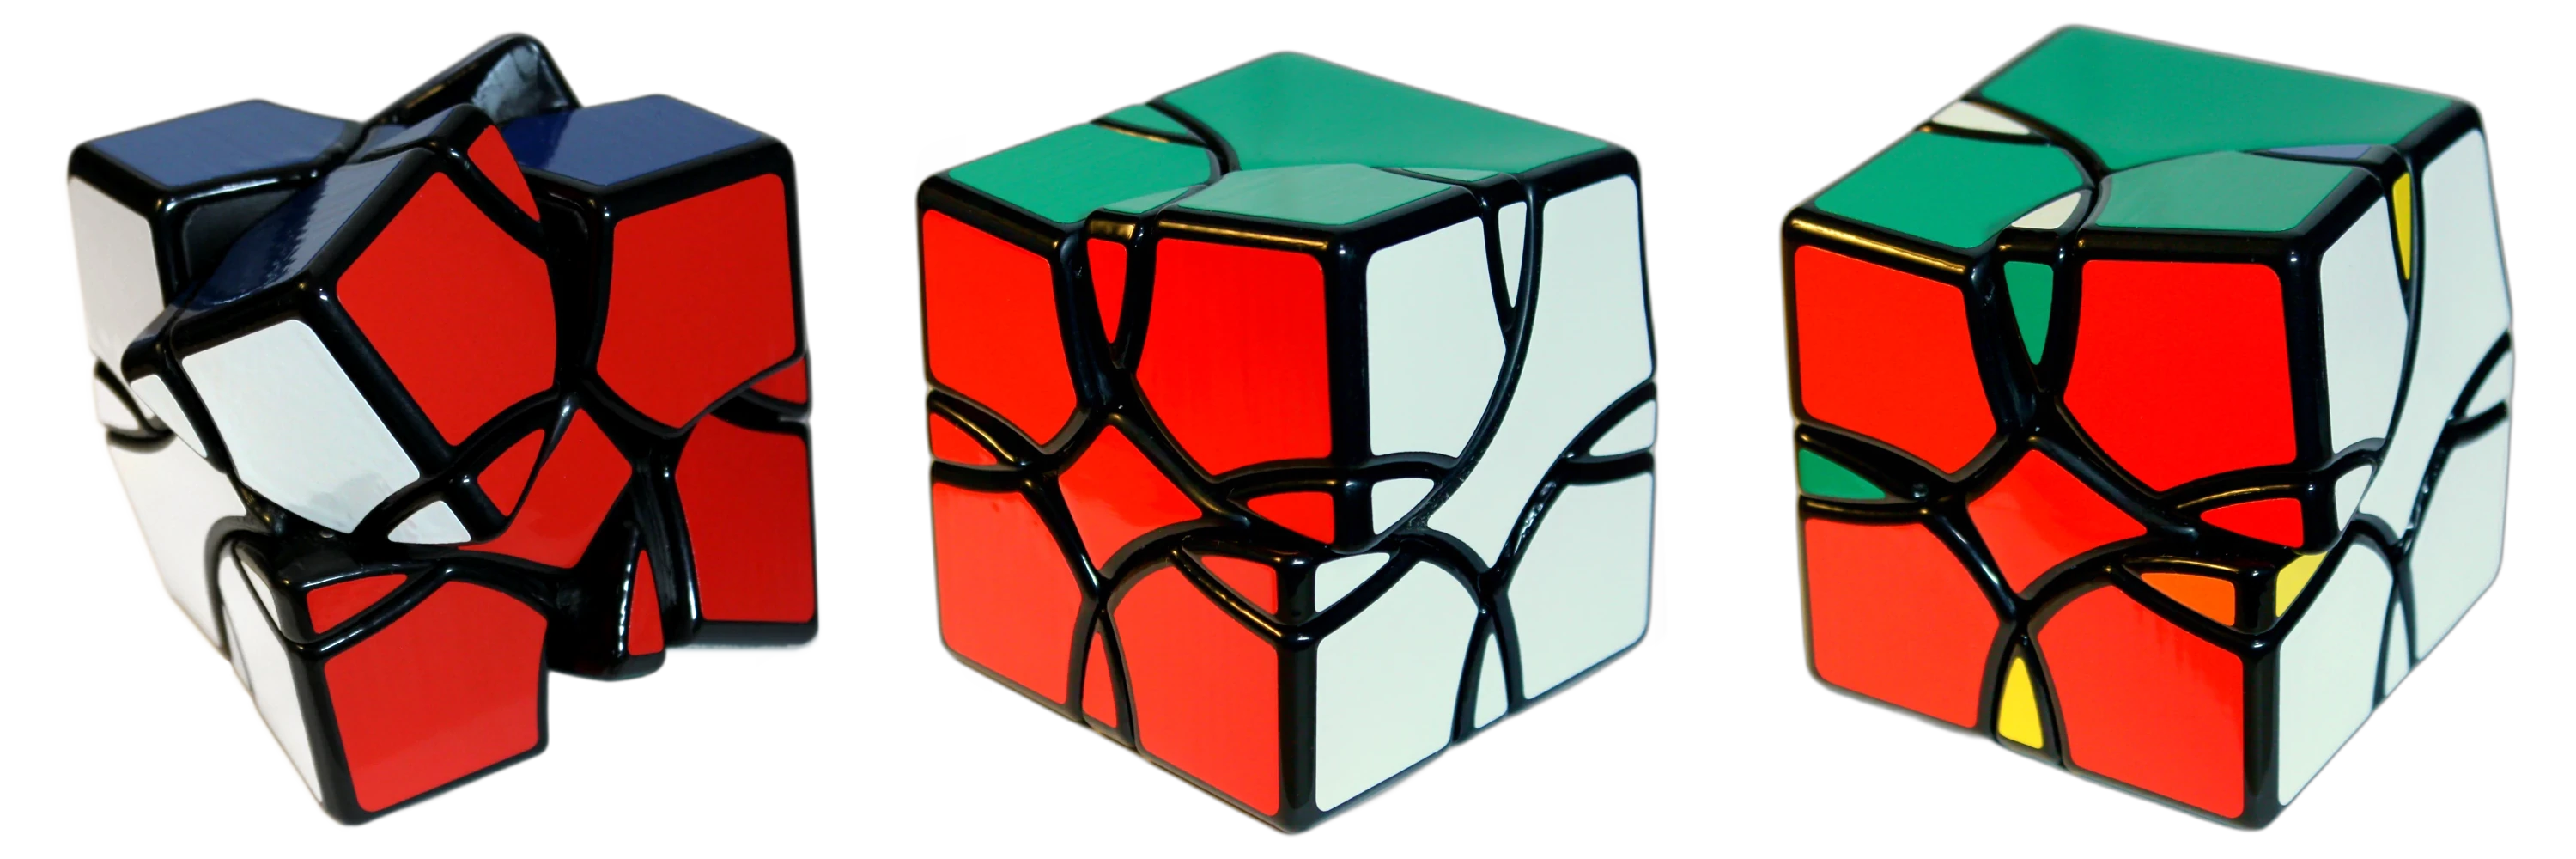
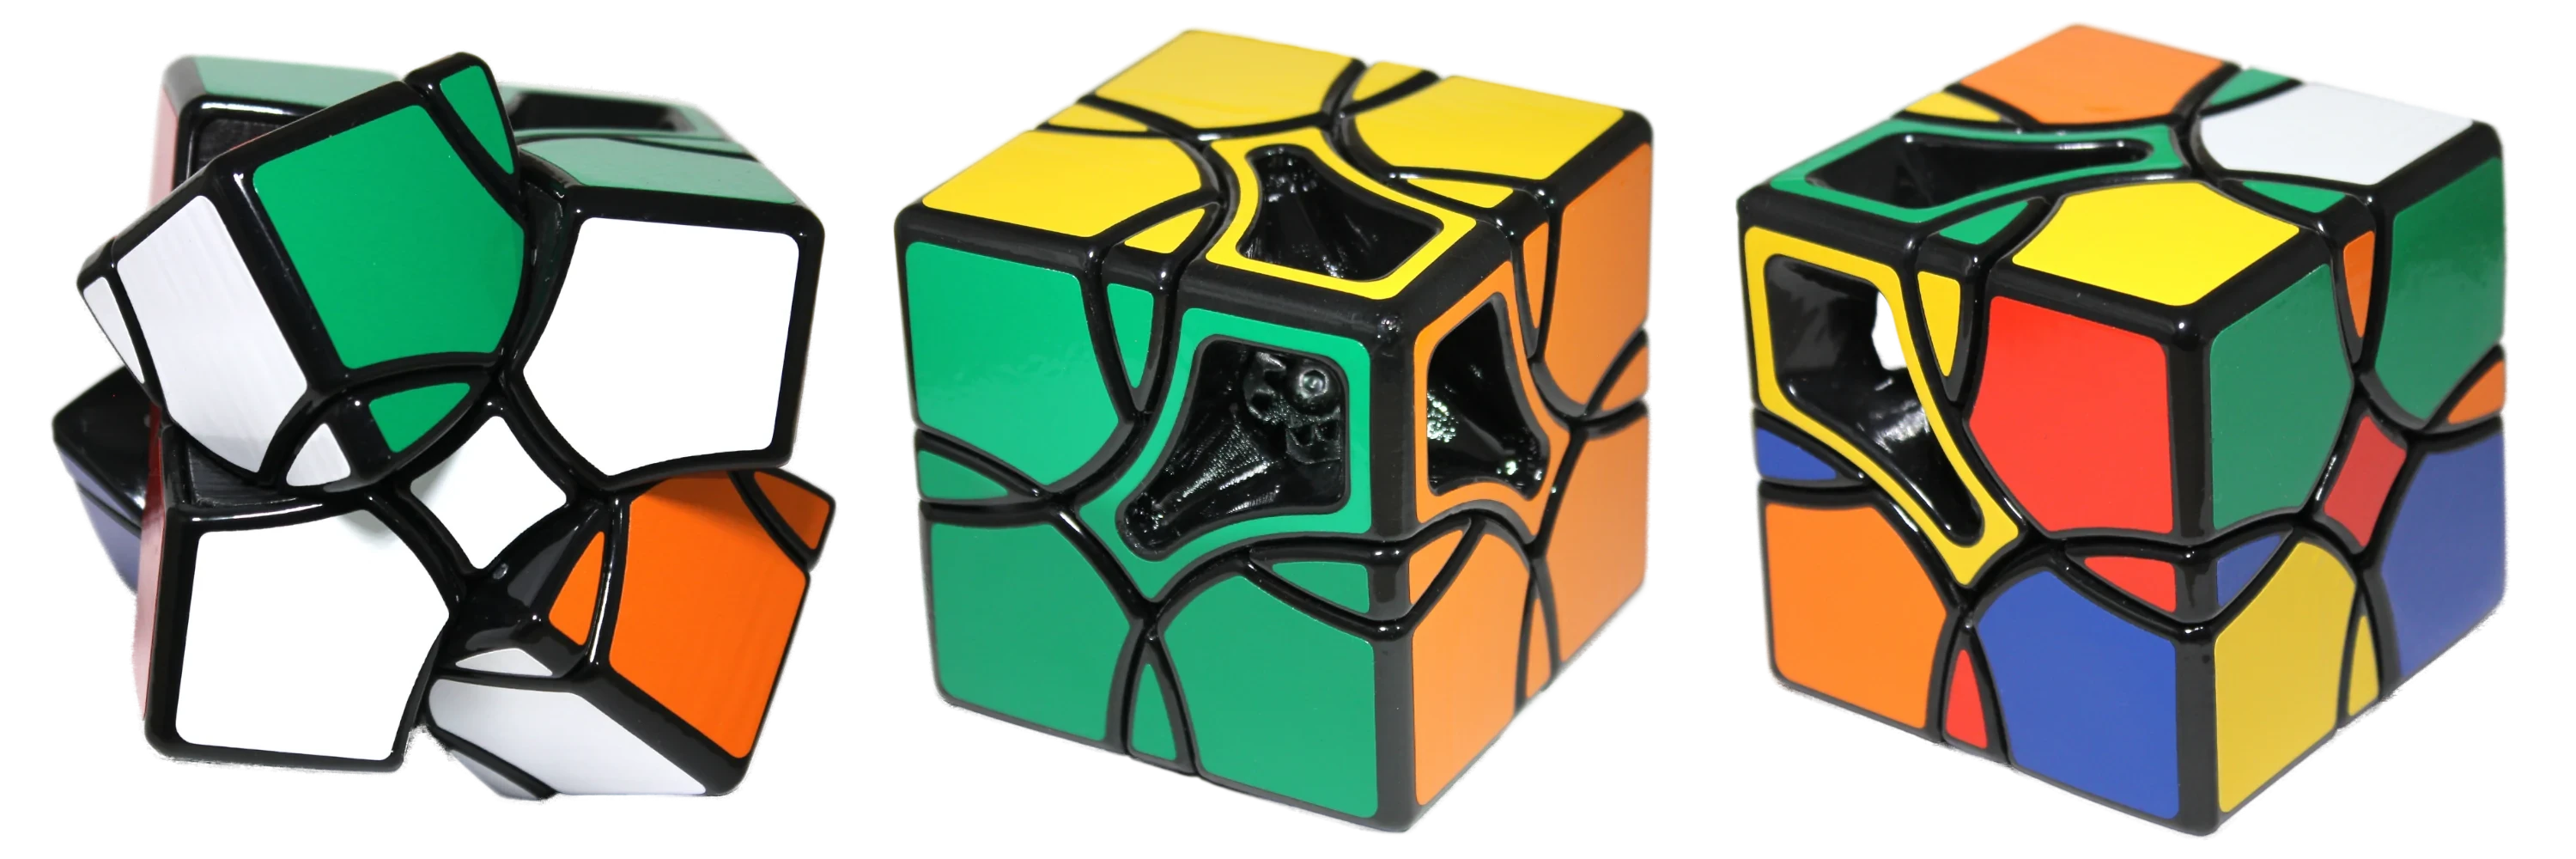
The Illegal Slice Cube is easy to print and doesn’t require any special hardware.
Bambu P1S print settings:
- 0.16 mm layers
- Support raft
- Half speed
- Auto snug supports at 25-30°
- Manual strong tree supports on core - just the overhangs
- 3 wall loops (for vapor smoothing)
- Polymaker ABS (Bambu brand ABS does not vapor-smooth)
- Bambu Support for ABS
Assembly
The core is made up of multiple parts that must be assembled in a specific order.
1. Smoothing / sanding
It’s important to minimize friction in a geared puzzle like this. The outer parts should either be sanded, or acetone-smoothed if you’re printing ABS.
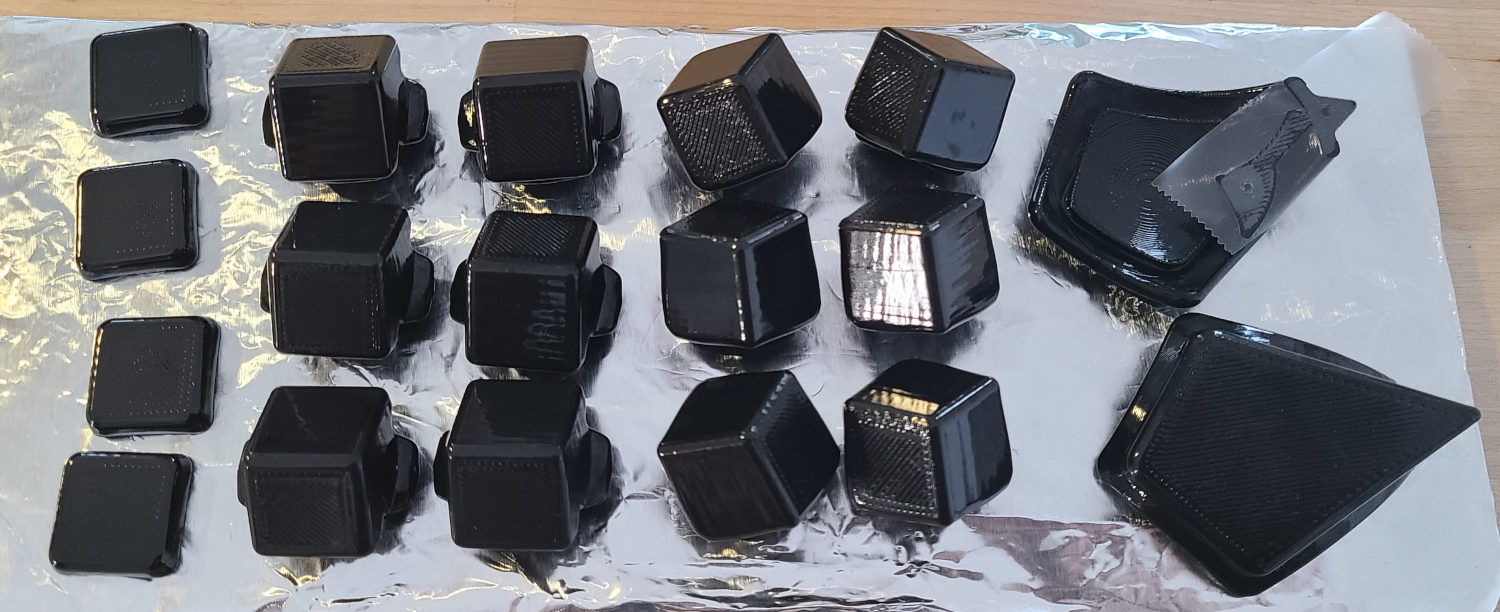
The attachment points for the ‘wedge pieces’ (outer core) are taped over to avoid melting the screw holes.
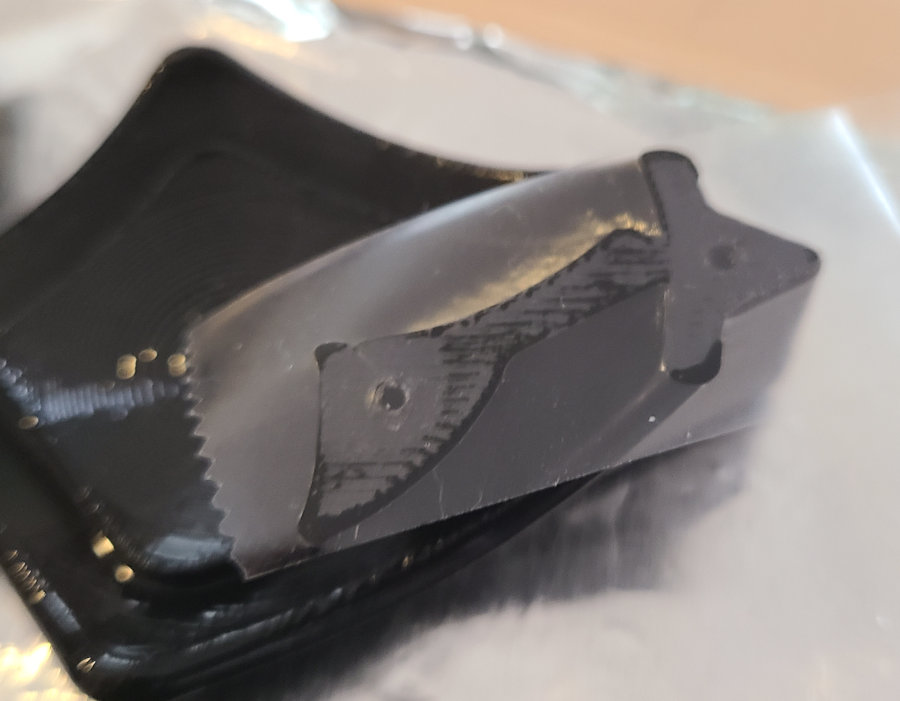
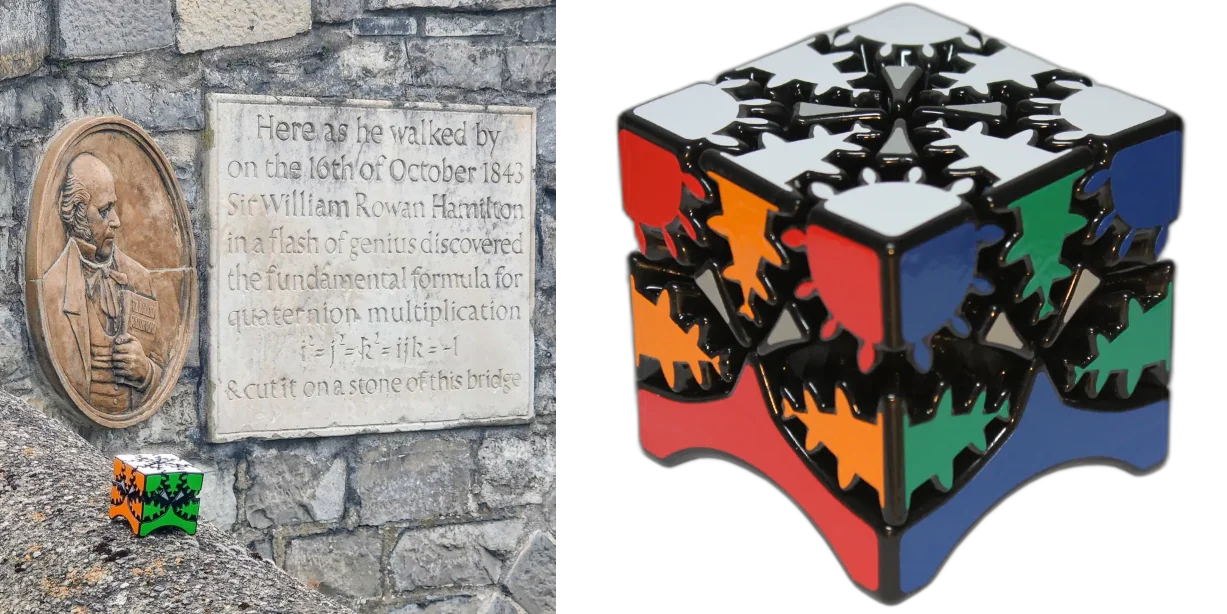
2. Idler gears
First screw in the four idler gears to the main core piece using the M3x8 screws, no springs or washers. They should be as tight as possible without binding. Test fit the spindle gears to make sure they mesh correctly, but don’t screw them in yet.
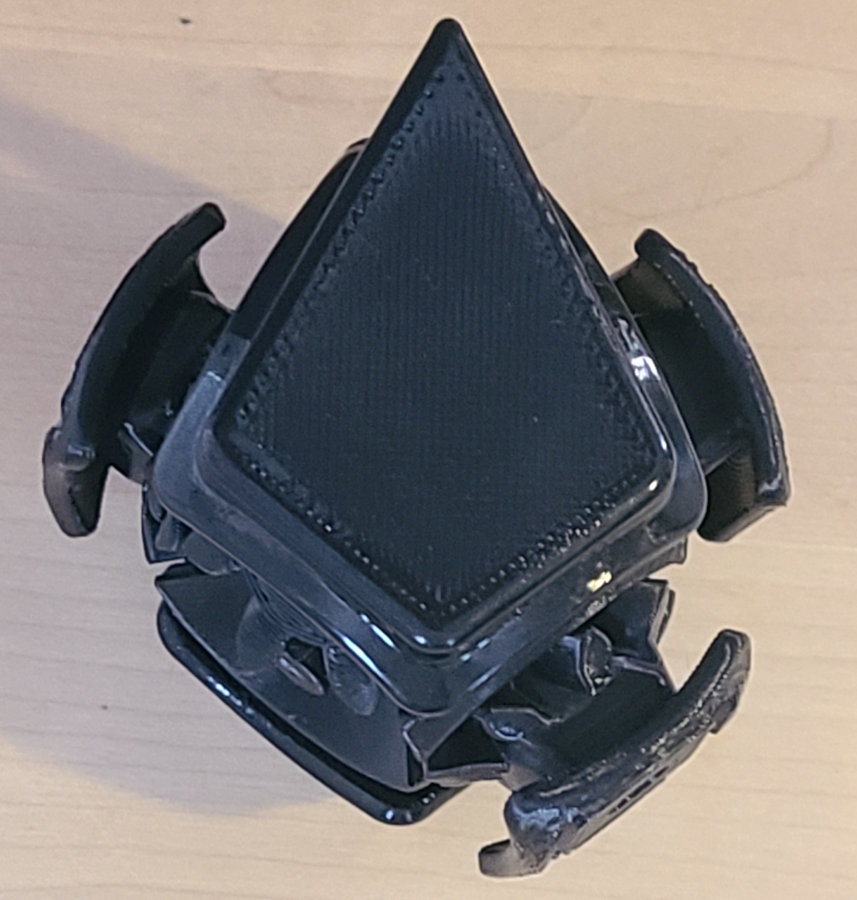
3. Attach the ‘wedge pieces’ at the sharp edge
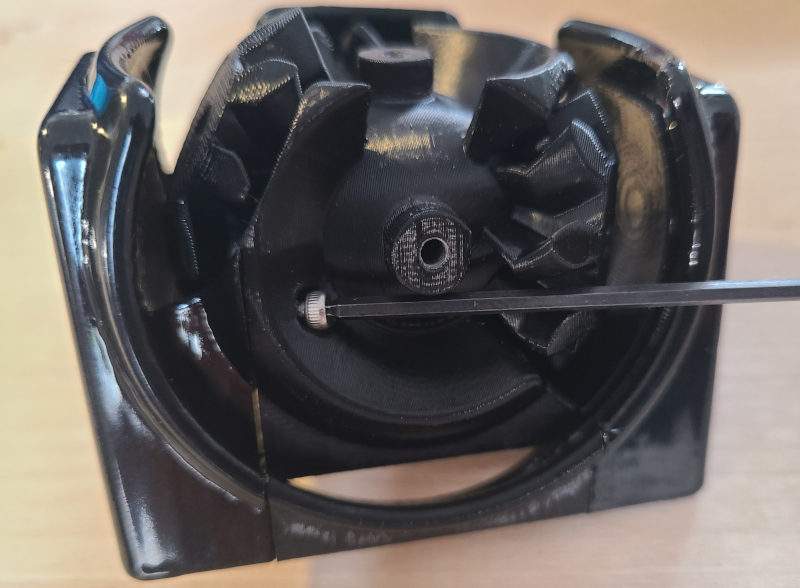
Use two M2 screws to begin assembling the wedge pieces to the core. The screws along the sharp edge are hard to get in once it’s assembled, so it’s best to start with them and gradually tighten them down. WARNING: It’s very easy to strip the M2 head - keep a long allen wrench as straight as possible, and if it starts stripping back it out immediately.
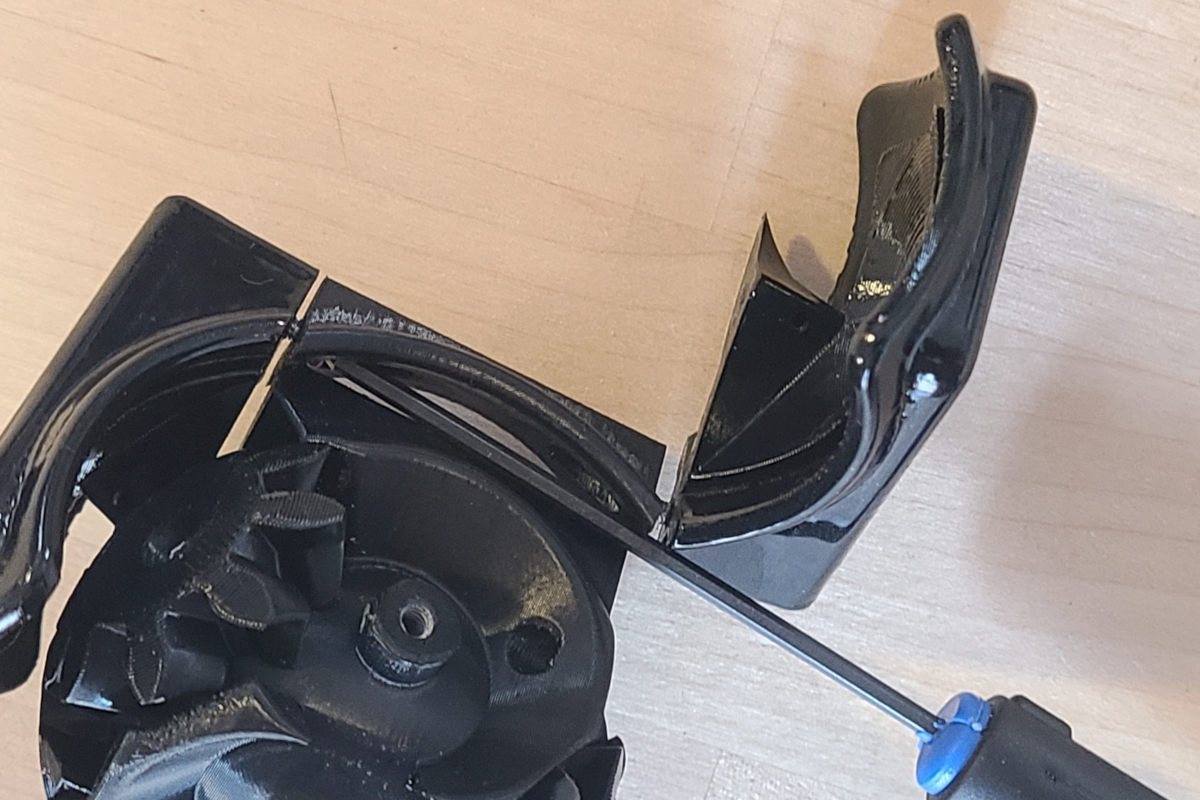
4. Add the angled M2 screws
Screw in the remaining M2 screws through the angled holes. I leave everything a little loose, but it might not make a difference.
5. Attach three of the spindles
Use an M3 screw, washer, and spring to attach all of the spindle/gear pieces but one.
6. Lubricate / assemble edges and corners
Rotate the spindles to slide in most of the edges and corners. This is probably the best time to lubricate it.
7. Screw on remaining side
Slot the remaining pieces together, then press them into the core and screw in the last spindle.
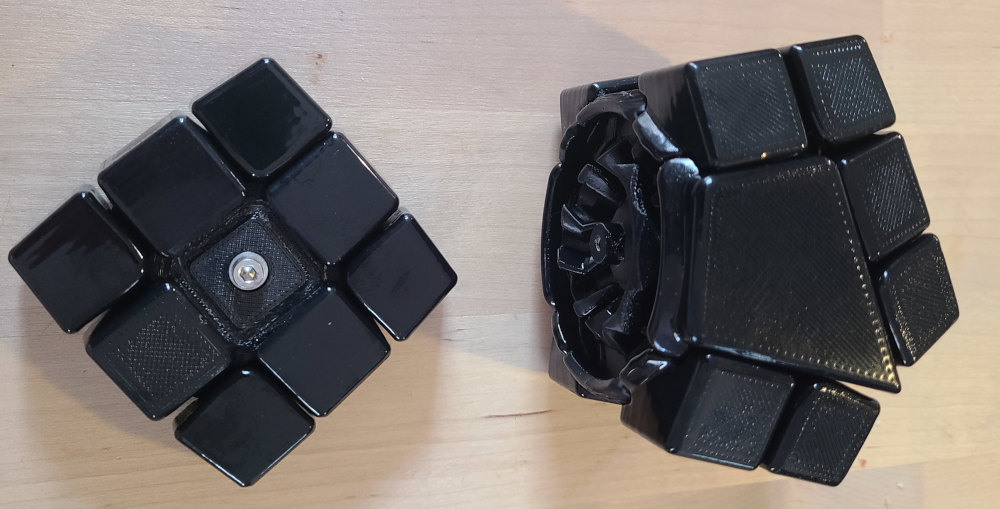
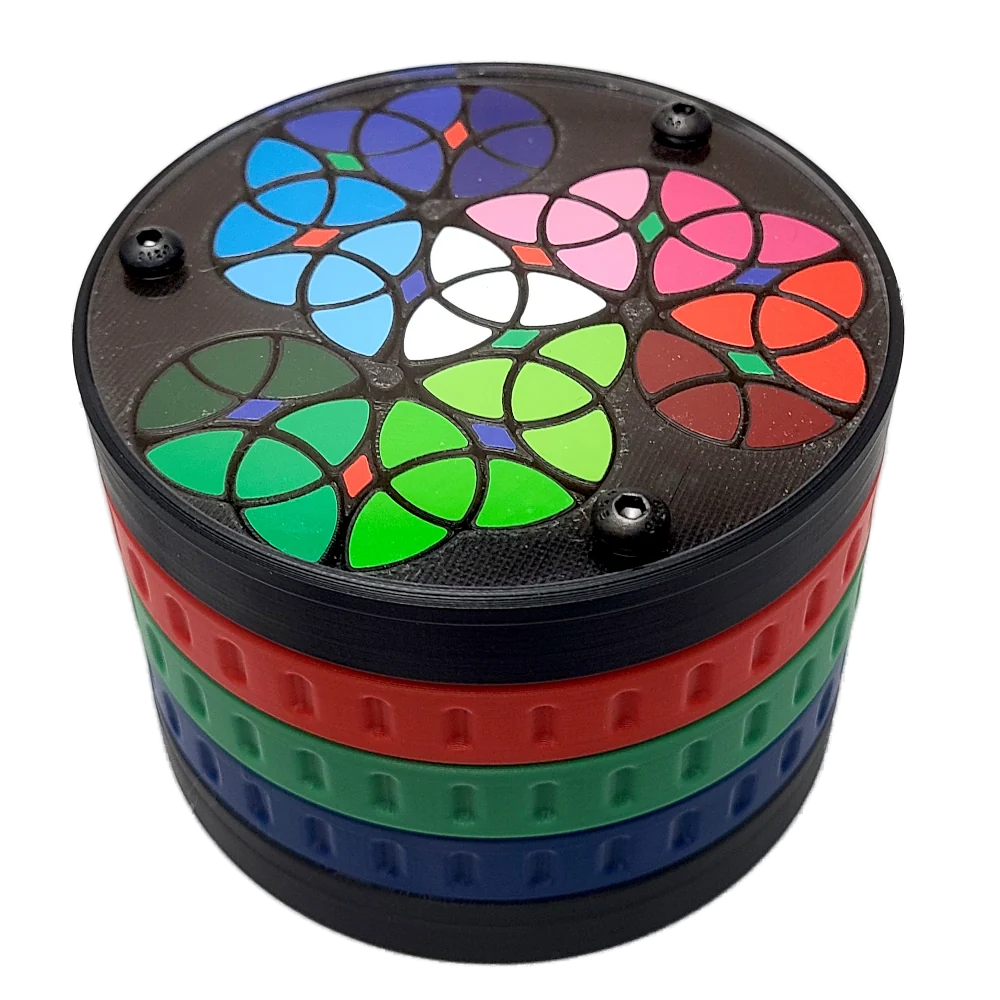
8. Add the caps
Attach the center caps - they stay on by themselves for me, but you could use super glue.


